

WE'RE HERE TO HELP

ABOUT THE BRAND
-
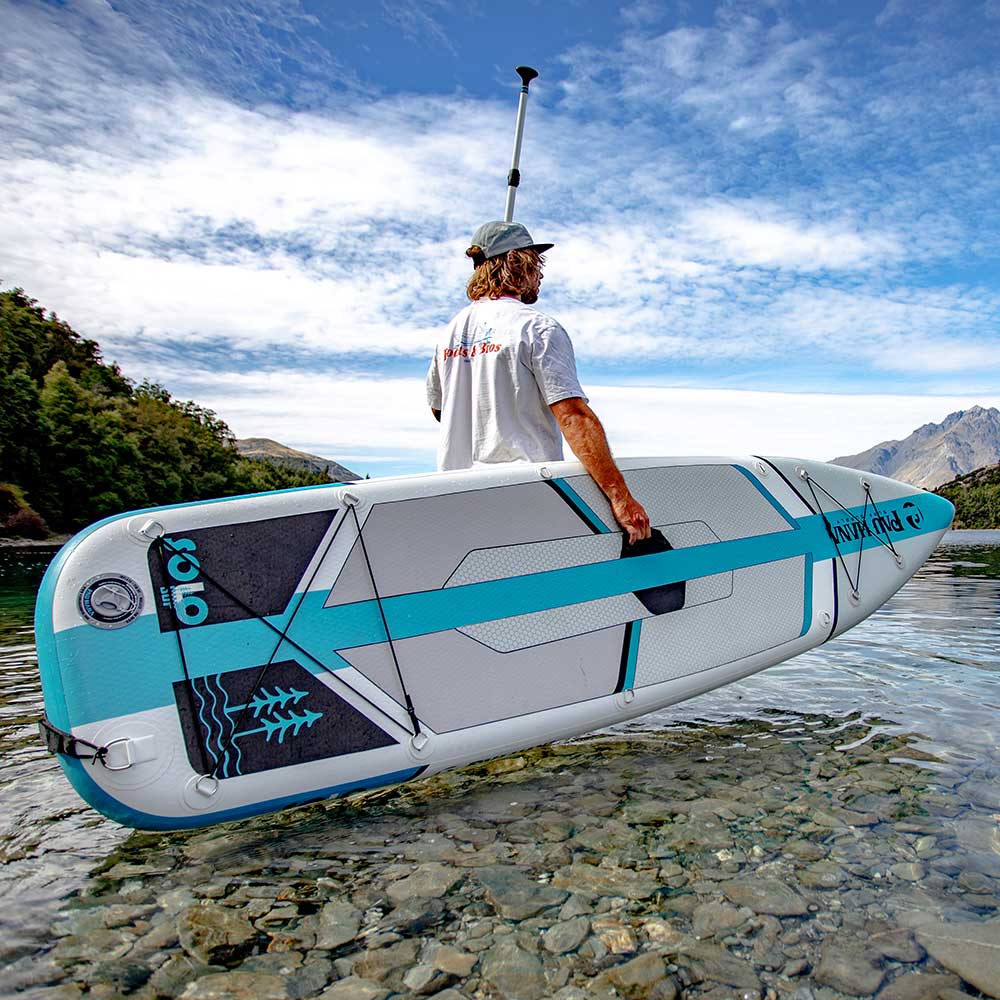
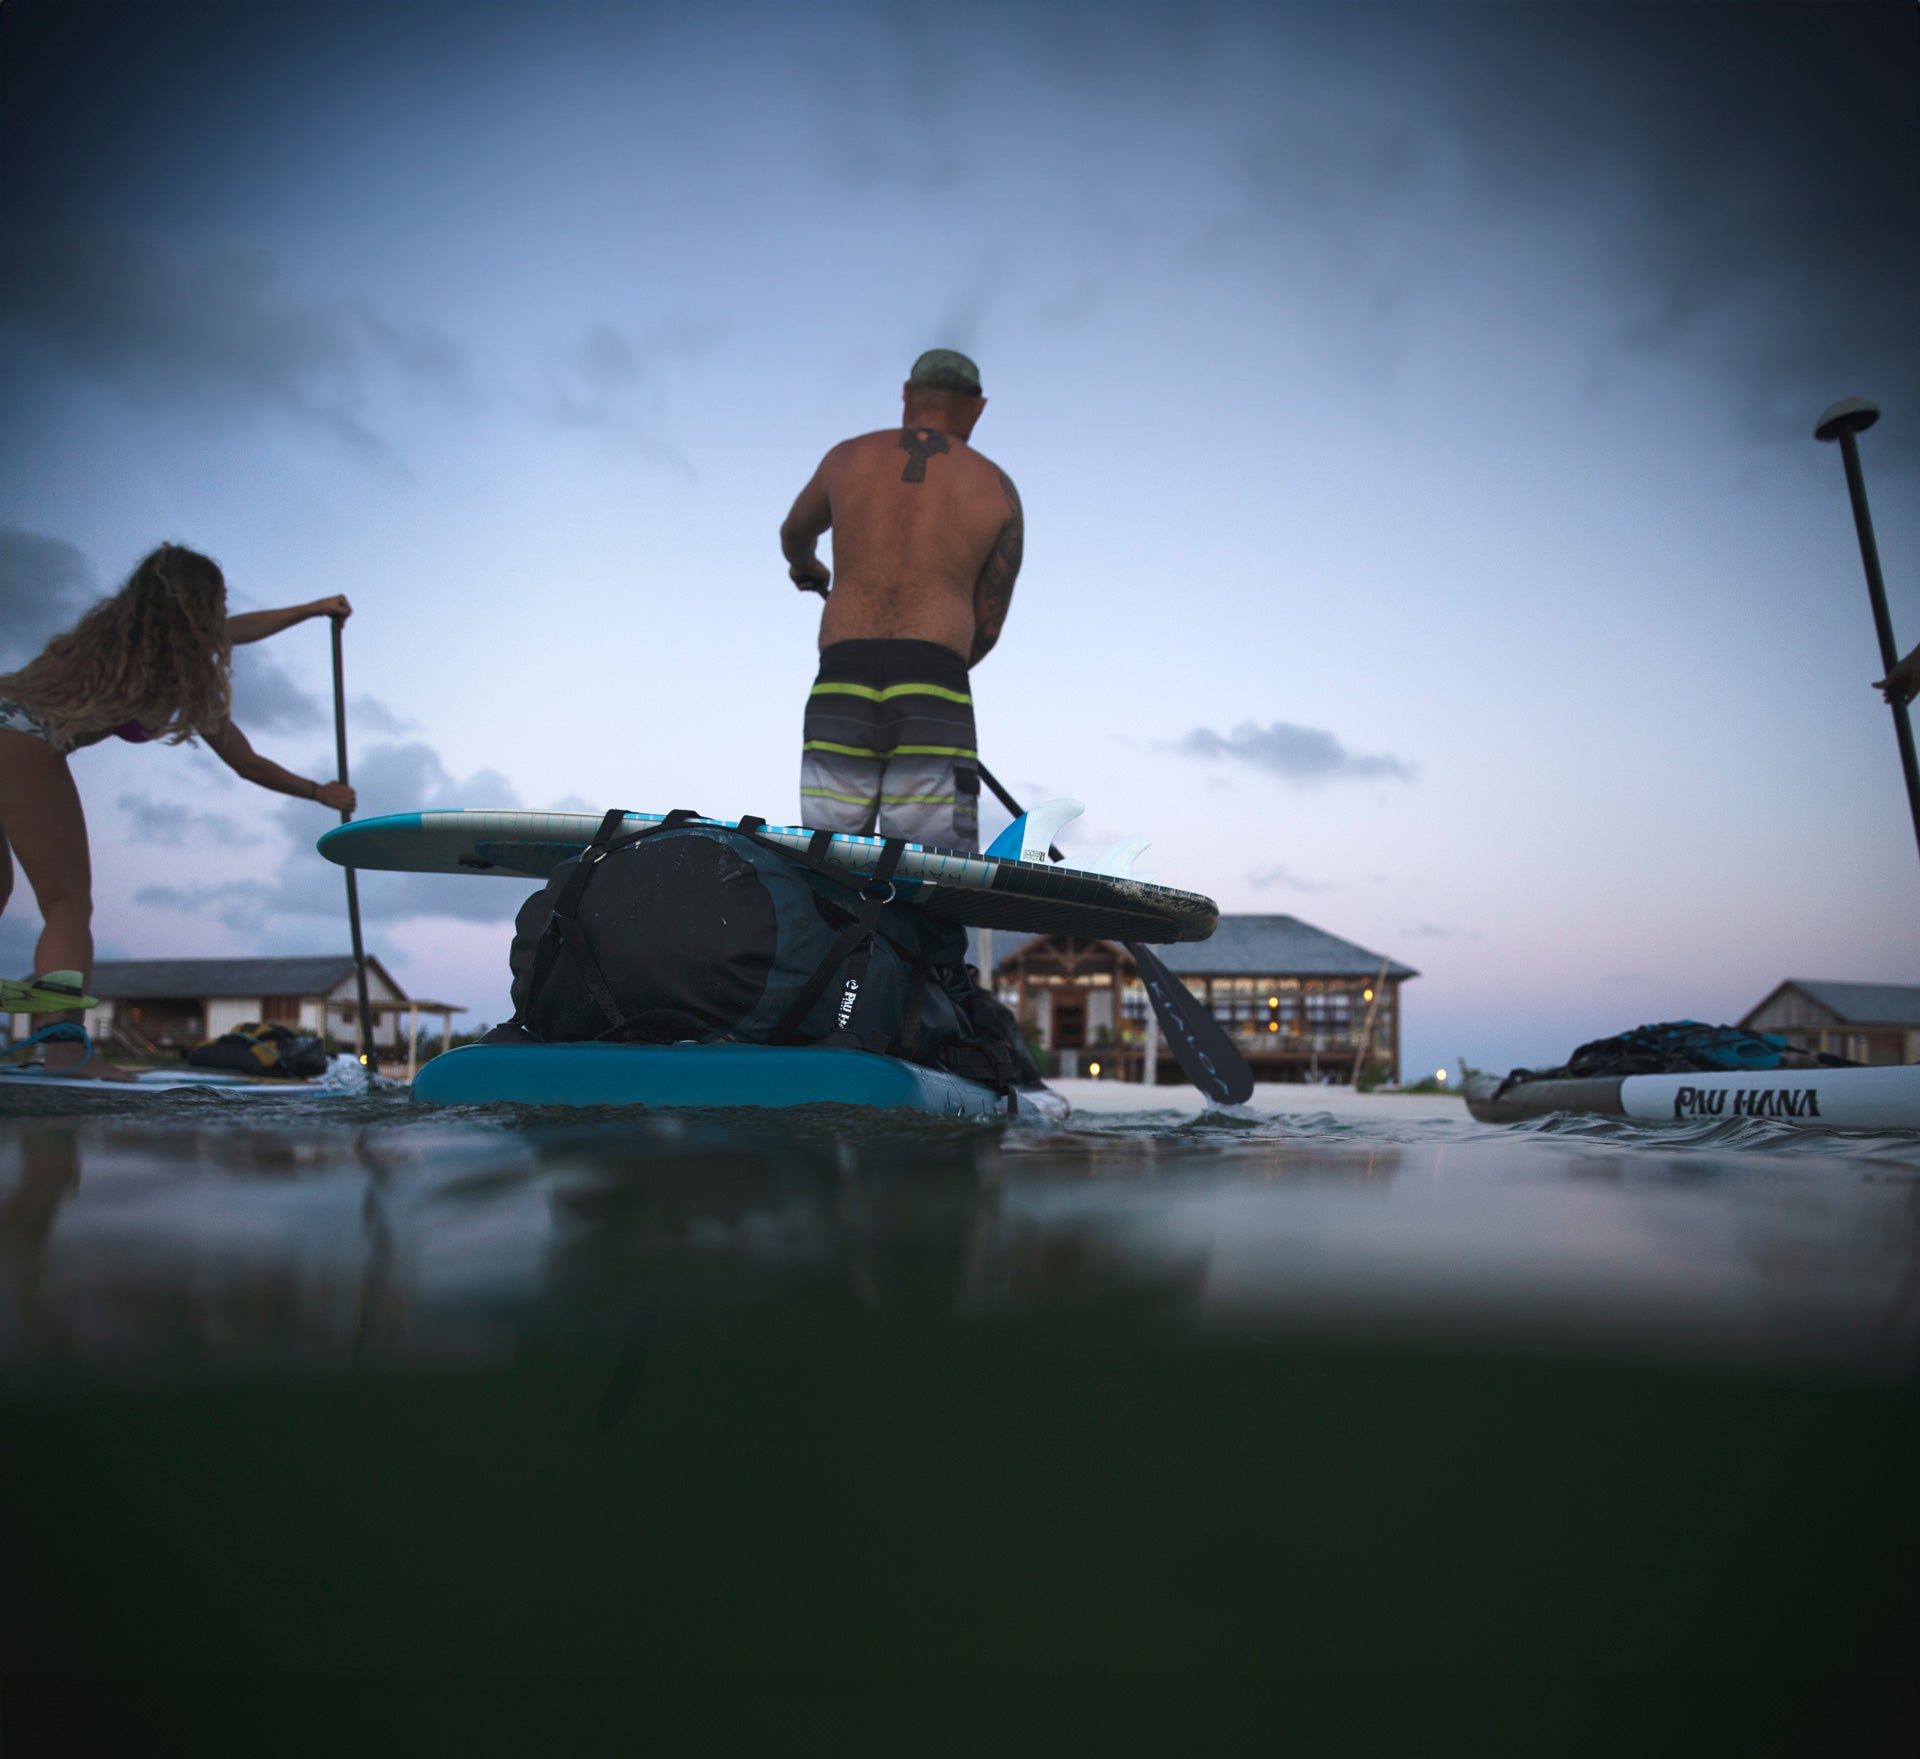
Pau Hana (pronounced "pow-hana") is a Hawaiian phrase that means “time after work” and is often used to refer to whatever you do for fun when you’re not working.
-
Pau Hana Hard Boards can be purchased online and shipped to a local pickup location near you, or through one of our certified dealers. Visit our Dealer Map or the Dealer List to find your local dealer or dealers that ship nationally. Contact your local or national dealer with any questions about purchasing, shipping, costs, inventory, or orders.
Pau Hana Inflatable Boards are available for purchase directly from us through our web-store, or from a certified dealer.
-
All warranty claims must be started and submitted by the Pau Hana Dealer where the original purchase was made. If you feel that your board has a warranty issue you must contact the dealer where the board was purchased from about the warranty. The dealer works with Pau Hana on all warranty claims.Warranty Policy
-
If you placed an order on the online shop at pauhanasurfco.com, you might be wondering how long it will take to receive your order at your doorstep so you can get on with paddling and enjoying your Pau Hana time. Use the table below to estimate the time it should take for your order to reach you.
Please note all days are in business days from the day after that the order is received by Pau Hana. Order can take up to 3 days to get processed and ship and take 7 – 10 business days to deliver. All orders placed after 11am will be processed the following day. Orders made after 11am on Friday will get processed the next working day.
Alabama | 7-9 days
Alaska | 6-8 days
Arizona | 5-7 days
Arkansas | 7-9 days
California | 5-7 days
Colorado | 6-8 days
Connecticut | 8-11 days
Delaware | 7-9 days
Florida | 7-9 days
Georgia | 7-9 days
Hawaii | 6-8 days
Idaho | 6-8 days
Illinois | 7-9 days
Indiana | 7-9 days
Iowa | 7-9 days
Kansas | 7-9 days
Kentucky | 7-9 daysLouisiana | 7-9 days
Maine | 8-11 days
Maryland | 7-9 days
Massachusetts | 8-11 days
Michigan | 8-11 days
Minnesota | 8-11 days
Mississippi | 7-9 days
Missouri | 7-9 days
Montana | 7-9 days
Nebraska | 7-9 days
Nevada | 5-7 days
New Hampshire | 8-11 days
New Jersey | 7-9 days
New Mexico | 6-8 days
New York | 8-11 days
North Carolina | 8-11 days
North Dakota | 8-11 daysOhio | 7-9 days
Oklahoma | 6-8 days
Oregon | 6-8 days
Pennsylvania | 7-9 days
Rhode Island | 8-11 days
South Carolina | 8-11 days
South Dakota | 7-9 days
Tennessee | 7-9 days
Texas | 7-9 days
Utah | 5-7 days
Vermont | 8-11 days
Virginia | 8-11 days
Washington | 6-8 days
West Virginia | 8-11 days
Wisconsin | 7-9 days
Wyoming | 6-8 days -
Visit our Return Policy for the information that you need to issue a return.
CONSTRUCTION & REPAIR
-
Our “hard” boards (boards that are not inflatable or soft topped), are made with a foam EPS (expanded polystyrene) core that is wrapped with fiberglass and epoxy resin. The precise construction or layup of each board varies based on our research and development for each board, but the basics stay the same. You will find detailed construction on each products page.
Our inflatable SUPs are constructed with a drop-stitch inner core between two layers of PVC or TPU. Think of thousands of threads connecting the top and the bottom of the board. Then, there is another wrapping of PVC or TPU around the board. You will find detailed construction on each products page.
-
Your inflatable board came with a repair kit in the orange container. There will be patches, glue, and a valve wrench. If you know where the puncture is you can begin the repair but if you don't its pretty easy to find the leak.
The first thing to check for is if the valve is loose. Take your valve wrench and use it to tighten the valve. You may have had just a loose valve. If that’s not it then take warm soapy water on a sponge and spread it on the inflated board start on the bottom. The soap will get super bubbly, it might hiss and spray a little and that’s where the puncture is.
Repair:(Board should be deflated)
Step 1. Make sure the inside of the inflatable board is dry. To dry the board leave it in a dry, warm place where the puncture area can drain.
Step 2. Cut a round patch at least 2” larger than the puncture/damaged area. Draw the shape of the patch on the board exactly where it will be applied.
Step 3. Use high grit sandpaper to roughen up the marked area on the board and the patch for proper adhesion. Clean with an alcohol based solvent like alcohol or acetone. Let dry 5 minutes.
Step 4. Apply 3 thin layers of glue on both the patch and the damaged area, let it dry 5 minutes between layers until the glue is tacky.
Step 5. When the 3rd layer of glue is tacky, apply the patch lightly and adjust the positioning if needed. Press the patch down and remove any air bubbles pressing down with a spoon or another round object. Do this by starting in the center of the patch and working outwards.
Step 6. Remove any excess glue with an alcohol based solvent. Let dry for 12 hours and check if the patch is water tight by adding some warm soapy water checking for hissing and bubbles and some bubbly spray.
Repairs should be conducted in a well ventilated area and read all safety instructions on glue.
-
Handle your board with care! If not, you may get a DING!
MILD DINGS:
A Ding is a slight depression in the exterior of the board. These happen with the normal use of your board but handling the board with care, not letting it hit hard surfaces like cement will reduce the number of dings. As long as there is not a crack in the Ding area you are OK.
A DING WITH A CRACK:
If your board has a crack don’t let water get in it. Repair the board first. If water did seep into the core of your board dry it out and then repair it.
You can repair the board yourself or give the dealer you bought the board from a call and ask if they do repairs or find a repair shop in your area.
SMALL REPAIRS:
Step 1: Make sure the inside of the board is dry. To check if its dry roll up a paper towel tight and insert it into the crack if its dry begin the repair. To dry the board leave it in a dry, warm place where the damaged area can drain.
Step 2: Sand on and around the damaged area with low grit sandpaper to roughen the area up. Clean the debris off.
Step 3: Mix up marine epoxy resin/hardener that can be found at any hardware store and apply to the damaged area. It usually comes in a two-part syringe tube. Follow the directions on the package for mixing. Do not use Polyester Epoxy to repair a Stand Up Paddleboard it will melt the EPS Foam Core.
Step 4: Allow the epoxy resin/hardener to cure.
Step 5: Sand the cured epoxy using high grit sandpaper until it is smooth. It helps to lightly moisten the sandpaper.
NOTES:
You can spray the area with a high gloss acrylic spray paint or paint it with uv protected paint like automobile paint.
Repairs should be conducted in a well ventilated area and read all safety instructions on the product you are using.
Solarez EPS/Styrofoam Safe can be used on hard boards in place of the marine epoxy resin/hardener.
YouTube has lots of informative videos on how to repair Stand Up Paddleboards.
*If you still have questions or need repair advice for a larger repair please fill out the Technical Assistance Form and please send pictures.
-
Deck pads are notoriously difficult to remove due to the strength of the adhesive that is used while applying the pad. To get it done without harming or damaging your board, we highly recommend taking it to your local SUP store or other professional repair place.
-
Its air that is trapped under the pad. Heat and sun will usually cause it to bubble. Prick a hole in the middle of the bubble with a tack or pin and press the air out and push the pad back down. The glue should still be tacky and will reset. Sometimes the air will just release on its own overnight. You could wait and see if it releases on its own or try the pin method.
GENERAL BOARD QUESTIONS
-
The inflatable stand up paddle board should be inflated up to 15 PSI.
If you are planning on paddling in cold water like snow melt rivers, then we recommend pumping it up to 15 PSI on land and putting the board on the water and continue pumping it up to 18 PSI.
-
The vent plug is the hex shaped plug. Nearly all paddle boards with a foam EPS core will contain one.
It helps prevent the board from delaminating by allowing the air pressure to equalize with the outside pressure, but keeps the water from entering the board.
Our vent plugs are self regulating, so you never should open or unscrew them, the goretex membrane automatically lets out or takes in air while blocking water.
-
So you've grabbed yourself a Pau Hana Diablo Whitewater SUP -- awesome! This means you are enthusiastic about white water and have a passion for the sport. This specialized board should not be outfitted with all the typical SUP gear, and if you are an inexperienced white water paddler, it may be helpful to know these things before heading out on the rivers.
Ankle leashes are deadly in whitewater, and the coiled leash that we provide is best for recreational SUP adventures, such as touring, fishing, surfing, and so on. A couple of companies make a leash that attaches to your PFD, which is much safer. If your leash happens to get snagged on something like a tree, there is a quick release so you don’t drown. A white water Quick Release Leash is what you can use or just don't use a leash when paddling in white water. Always wear a PFD and helmet. Take a beginner white water class to learn the basics of white water stand up paddling and safety.
-
The side fin boxes on your board are used for surfing. You do not use them for touring or recreational paddling. If you are going to be surfing with your board you can use the main center fin and have it as far forward as it goes and then insert the side fins to the front side fin boxes. The side fins (aka side bites) will increase the carving performance of your board making it a little more stable and predictable while surfing. You can purchase the side fins for the front side fin boxes in our webstore. If you have an Oahu or a Carve that has 4 side fin boxes you can get the rear side fins from Future Fins for a Quad set-up for surfing. You would not use the main fin with this set-up. The Quad will make the board looser and faster, can be tricky for beginner surfers.
-
The serial number is by the fin box where the fin is inserted into the board.
-
The bolt that came with your board is for a Dealer to hang a For Sale Tag on it in a store. Remove it from your board. It is not intended to be used for any accessories and it is not stainless steel so it must be removed before your board gets used in water.
-
Todd Caranto, founder of Pau Hana Surf Supply, created one of the first beginner-focused stand-up paddleboards in 2007: the Big EZ Hawaiian. While elite surfers were using difficult, undersized boards, Caranto designed a stable 11' x 32" board that made the sport accessible to everyday people.
ACCESSORIES
-
You can find 'How To' videos in our blog under How-To's. We have video's and text for how to install a leash, a fin and many other videos that will get you on the water quicker.
-
The Base Plate is a durable plastic plate accessory that screws directly into the SeaMount® and contains extra threads for mounting accessories.
The Base Plate accessory is needed for accessories that extend off the board that may be subject to large forces that could break the SeaMount®.
The Base Plate greatly reduces the likelihood of the SeaMount® breaking from a large force hitting an accessory. It also provides extra threads for further mounting of accessories to the board.
You can purchase a baseplate here.
-
The Malibu Classic fits in the Big EZ Angler 36" board bag.
-
The Big EZ VFT fits in the Big EZ Angler 36" board bag.
-
Pau Hana Stand Up Paddleboards use a standard fin box. The majority of fins on the market fit on our boards. However we sell replacement fin hardware and fins here.
-
If you lost a screw for a Sea Mount like a D-Ring Screw you can go to a hardware store and get a stainless steel replacement. You can bring one of the remaining D-Ring Screws as a size reference.
Bolt is 5/16-18 (5/16” diameter, thread count is 18)
-
The SeaMount plugs on your board are threaded mounts where you can attach accessories to your board. For a list of all available accessories, look under the accessories tab in our online shop.
CARE & MAINTENANCE
-
Your board is made for fun in the sun and water but to ensure a long and fruitful life, follow these important guidelines:
- Never leave your board in direct sunlight for extended periods of time, whether it is in the water or on land.
- When your board is not in use put it in a cool, shaded area, deck side down, so it is not resting on the fin.
- Rinse your board with fresh water after every use, especially when used in salt water! Give extra care to rinse the SeaMount® plugs!
- Get a board bag or a UV Sock to help with sun protection.
What will happen if you leave your board in the sun?
Delamination – this is what happens when you leave your board in the sun and it overheats. The foam inside your board will heat up, melt and release gas, which in turn creates pressure and separation from the foam inside your board and the fiberglass exterior. Don’t leave your board in the sun!
-
- The board is best stored in a cool dry place with low changes in temperature.
- When not in use leave the board deck side down, don’t let the board rest on the fin.
- Always store your board out of the sun.
- Its best to protect it in a board bag to keep the board free of dirt, dust, dings, and scratches. Keep board and bag dry for winter storage and leave zipper open for ventilation. You can purchase one here.
- Rinse your board off after every use especially if used in saltwater.
- Indoor storage is the safest place but if it needs to be stored outside keep it in a cool, dry and shaded location to prevent heat damage and sun damage.
-
- Use a board bag when transporting your board. It protects your board from kicked up road debris, provides sun protection and adds extra protection when the board is strapped down on the rack.
- Don't leave your board for long periods of time in a bag on your roof rack the heat can cause heat damage and your board can delaminate.
- Transport your board deck side down, on padded bars.
- Use flat gear straps and do not over tighten.
-
Use only a mild detergent to wash your board. If you have more stubborn marks use a “Magic Eraser” or Goo Gone.
Don’t use any other type of cleaner even if it says it is “all natural” or “suitable for use on everything”. If you read the fine print many will say to test on a small area first.
Add Rail Tape to the sides of the board to help prevent scuff marks and dings.
-
- Rinse the SeaMounts® and accessory threads with fresh water after using
- Do not over tighten accessory fittings
- Do not attach RAM® accessories directly to the SeaMounts®. Use the SeaMount® Base Plate to set up RAM accessories
- Do not carry your board or handle your board by the SeaMounts®
- Lightly coat stainless steel accessory threads with oil/WD-40 before using and in-between uses
- Remove accessories from SeaMounts® when storing board and rinse with fresh water